ReactJS: How to Use Axios to Grab Data from API in ReactJS?

Many projects on the web need to interface with a REST API at some stage in their development. And here I will show you step-by-step how to use axios in ReactJS.
Axios Installation
We need to install Axios feature first to use this library. Step-by-step installation below.
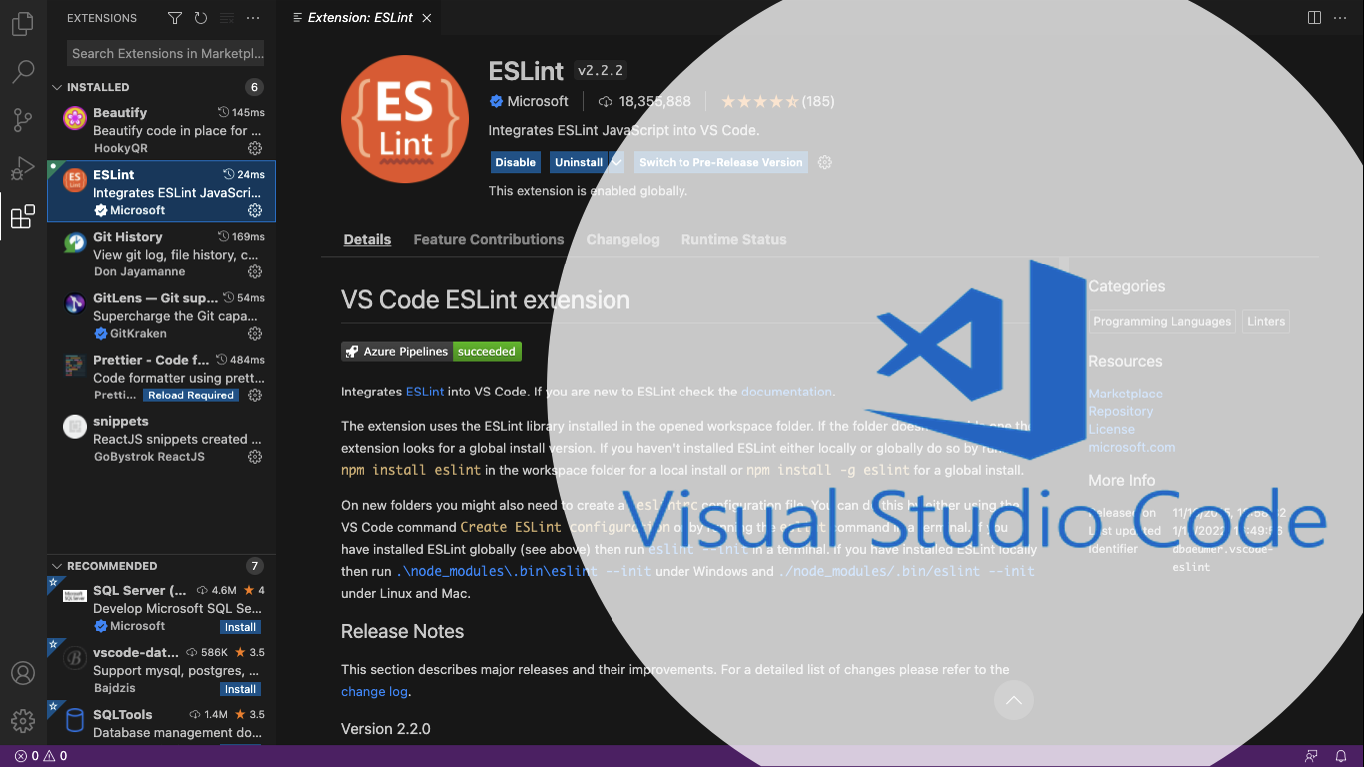
- Go into folder where ReactJS was already installed. I recommend you to use Visual Studio (VS) Code application.
- Type npm install axios in the folder.
- Open your project code in VS Code then type import axios from 'axios' in the beginning project code
- Define data format for API in the beginning project code such as import qs from 'qs' if your API use qs format. If your API use JSON Format you do not need to define this.
As a sample:
import React, { useState } from 'react';
import qs from 'qs';
import axios from 'axios';
Axios code to Grab API Data
As a sample in using Axios to grab API data, I am using ReactJS login code below.
const handleSubmitSignIn = (e) => {
e.preventDefault();
// Axios Method
axios({
method: 'POST',
url: 'https://dev-team4-backend.herokuapp.com/api/v1/auth/login',
// url: 'https://reqres.in/api/register',
data: JSON.stringify({
// data: qs.stringify({
email: signInData.email,
password: signInData.password,
}),
headers: {
'Content-Type': 'application/json',
// 'Content-Type': 'application/x-www-form-urlencoded;charset=utf-8',
}
}).then((response) => {
// Response from API after input login email and password
const data = response.data;
if ( data.data.token !== null ) {
// Save token to local storage to keep login while page refresh (reducers.js)
localStorage.setItem('keepToken', JSON.parse(JSON.stringify (data.data.token)));
// Save login id to local storage for incidental need
localStorage.setItem('keepLoginId', JSON.parse(JSON.stringify (data.data.id)));
// Save email to local storage to be displayed on top right corner of pages (Topbar.js & Search.js)
localStorage.setItem('keepName', JSON.parse(JSON.stringify (data.data.name)));
// Save role to local storage to display role features
localStorage.setItem('keepRole', JSON.parse(JSON.stringify (data.data.role)));
// Save email to local storage to display email address
localStorage.setItem('keepEmail', JSON.parse(JSON.stringify (data.data.email)));
handleClick();
} else {
console.log('response =>', data.data);
}
})
.catch(err => {
console.clear();
console.log('error =>', err);
NotificationManager.error('Oops! Invalid email address or Password!','',3000);
});
}
Codes explanation:
- We have to define function as a place for Axios code (eg; const, etc)
- Main codes for Axios must be defined such as method, API url, data and data format (JSON, QS, etc) which will be accessed and header of API
- Response which will be displayed if connection success
- Error handling
Detail codes can be read at this URL:


Comments
Post a Comment